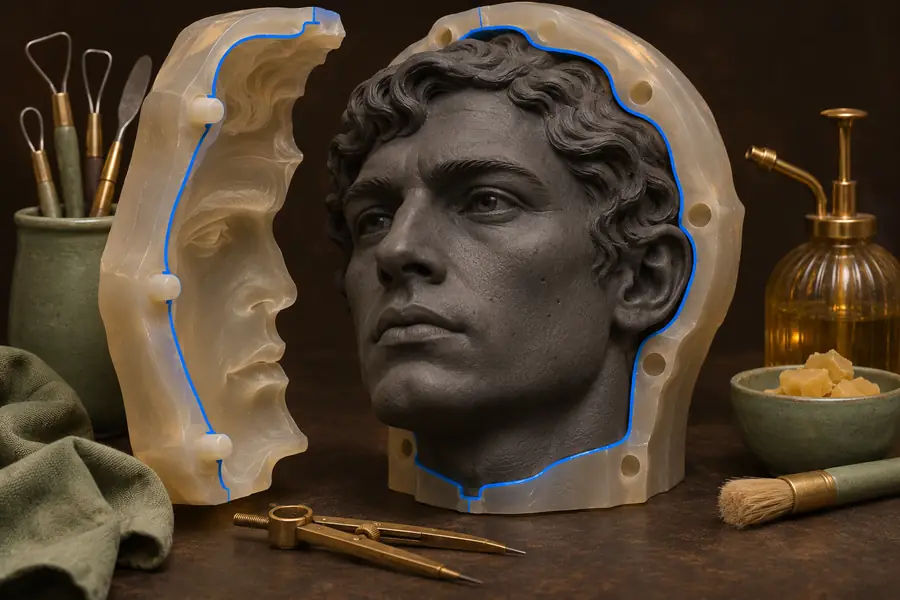
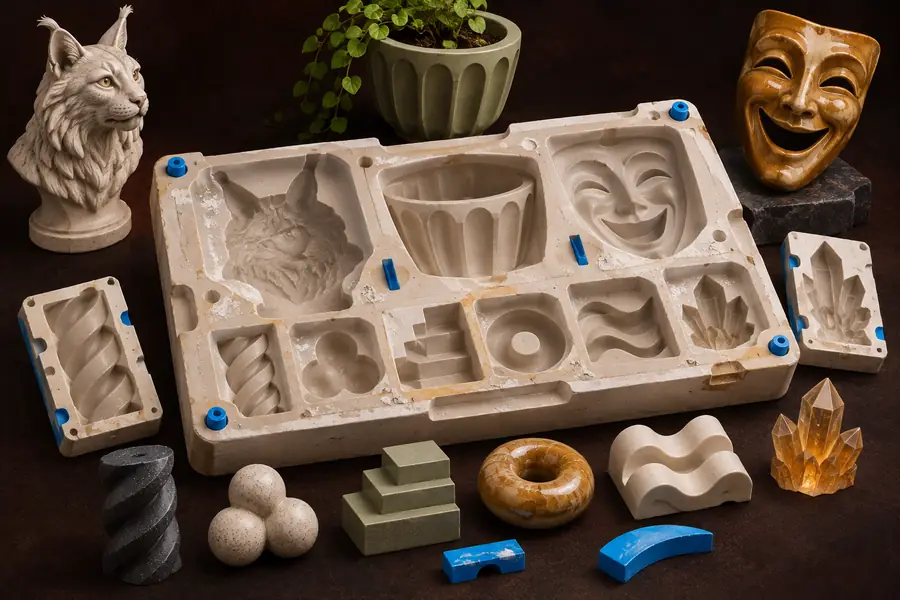

Start with the split-mold sculpture workflow because it focuses on where a rigid mold might lock around the master. A 3d mold maker view can help you examine a proposed parting line, but you still need to verify that every section can be removed without damaging the part.
Project examples
See best 3d mold maker examples through real project decisions
The best 3d mold maker examples show more than an attractive cavity: they show how a part can be removed, where material enters, and what must be checked before fabrication. Use these three project scenarios to plan a mold concept, not as ready-to-print specifications. A 3d mold maker can help you explore geometry, but the physical result still depends on your printer, casting material, tolerances, and testing.
Three workflows
Three concrete paths from shape to mold concept
These examples start with different masters, but each workflow ends with a question to resolve before making a physical mold.
-
Execution sequence
- Mark protrusions and undercuts on the master.
- Place a proposed split line where the halves can separate.
- Review the seam, alignment, and removal direction.
- Test a small section before committing to the full mold.
Start with a sculpted master that has protrusions or recesses. A 3d mold maker concept should identify where a single rigid cavity would trap the part, then propose a split line that lets each side separate. The example output is a two-part arrangement around the master, not a guarantee that the seam is invisible. Inspect narrow details, possible air pockets, and the direction in which the cast object will leave each half. If an undercut remains locked, revise the split or consider a flexible mold material.
-
Execution sequence
- Lay out the masters with space for cavity walls.
- Keep the mold base broad enough to support the tray.
- Inspect each pocket for trapped corners and bubbles.
- Measure the finished cavities before mixing casting material.
For several small pieces, the challenge is consistency across cavities. In this 3d mold maker workflow, arrange the shapes with room between them, then inspect wall thickness and access to every recess. The example output is a multi-cavity tray concept with distinct pockets. It does not establish how much resin or silicone to mix: that requires measured cavity volumes and the material supplier’s instructions. Check whether the tray can sit level, whether each piece has a workable release path, and whether the spacing leaves enough material between neighboring cavities.
-
Execution sequence
- Identify openings needed for filling and emptying.
- Review how mold sections separate from the form.
- Check proposed registration features for alignment.
- Validate the plan with a small physical trial.
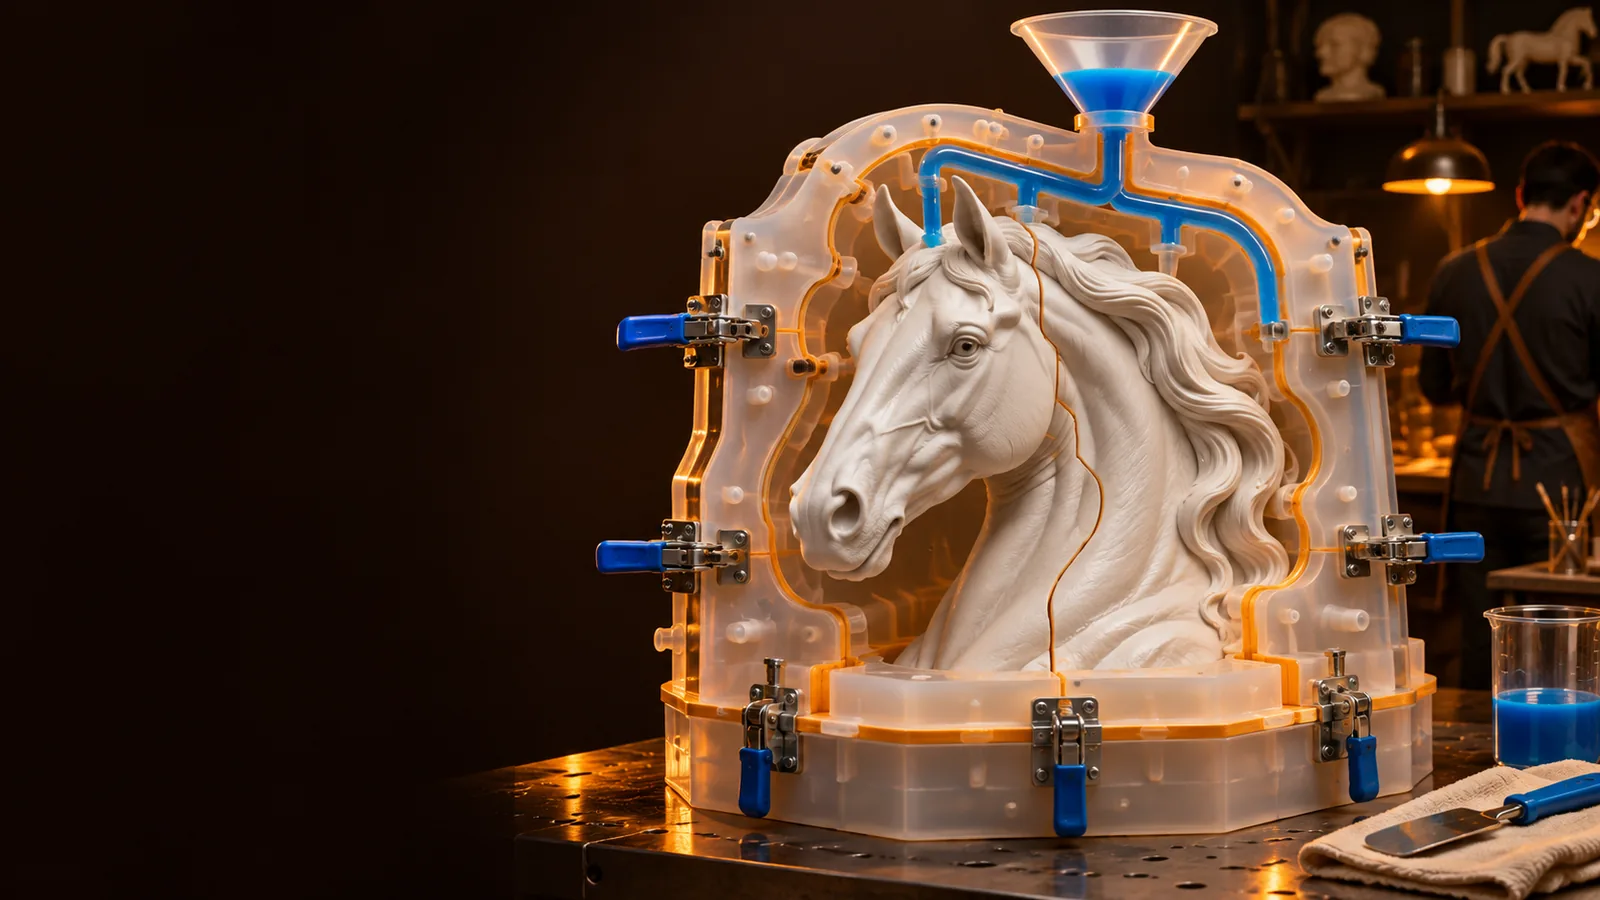
A ceramic project introduces different constraints from a silicone casting. Use a 3d mold maker concept to study how a master relates to mold sections, openings, and registration features. The example output is a slip-casting mold arrangement for visual review; a render alone cannot establish whether the intended plaster mold will absorb water properly or release the greenware. Discuss material choice and parting strategy with an experienced ceramic practitioner, especially for enclosed forms. Leave room to revise the master if the first physical trial reveals sticking or uneven wall formation.
Before fabrication
Read the example output, then check what it cannot prove
Move from an example to a testable mold plan
These 3d mold maker examples are useful for comparing split lines, cavity layouts, and possible release directions. They are not manufacturing approvals. Before printing or casting, check dimensions, minimum walls, alignment, vents, and access for filling and removal against your actual equipment and material instructions. Confirm that print resin, coatings, or other mold-contact materials are suitable for the substance you intend to cast; do not assume a visually convincing model is food-safe or suitable for skin contact. Make a small test piece when failure would waste significant material or damage a master.
- Verify dimensions and release paths on the intended geometry
- Follow material and equipment manufacturers’ instructions
- Test a small section before a full-size cast
Scenario questions
Questions about these mold-making examples
Look for adequate spacing between cavities, a stable base, and a clear removal path for each cast piece. The tray example is a layout exercise; measure your actual cavities to estimate material needs rather than relying on the image.
Not without checking the process and materials. A 3d mold maker concept may illustrate geometry, but resin, silicone, and ceramic slip can require different mold materials, release methods, and filling arrangements.
No. They show planning scenarios and visual outputs, not verified print files or tested casting instructions. Check scale, wall thickness, printer constraints, material compatibility, and release on a physical test before producing a full mold.