Describe the object
State the part being molded, the intended casting material, and the shape features that matter. Mention whether you need a one-piece cavity, a split mold, an open base, or a support shell.
Prompt to geometry
Describe the object, cavity, split, and release needs in plain language. The workspace helps you move from an idea to a mold concept that is easier to inspect and refine.
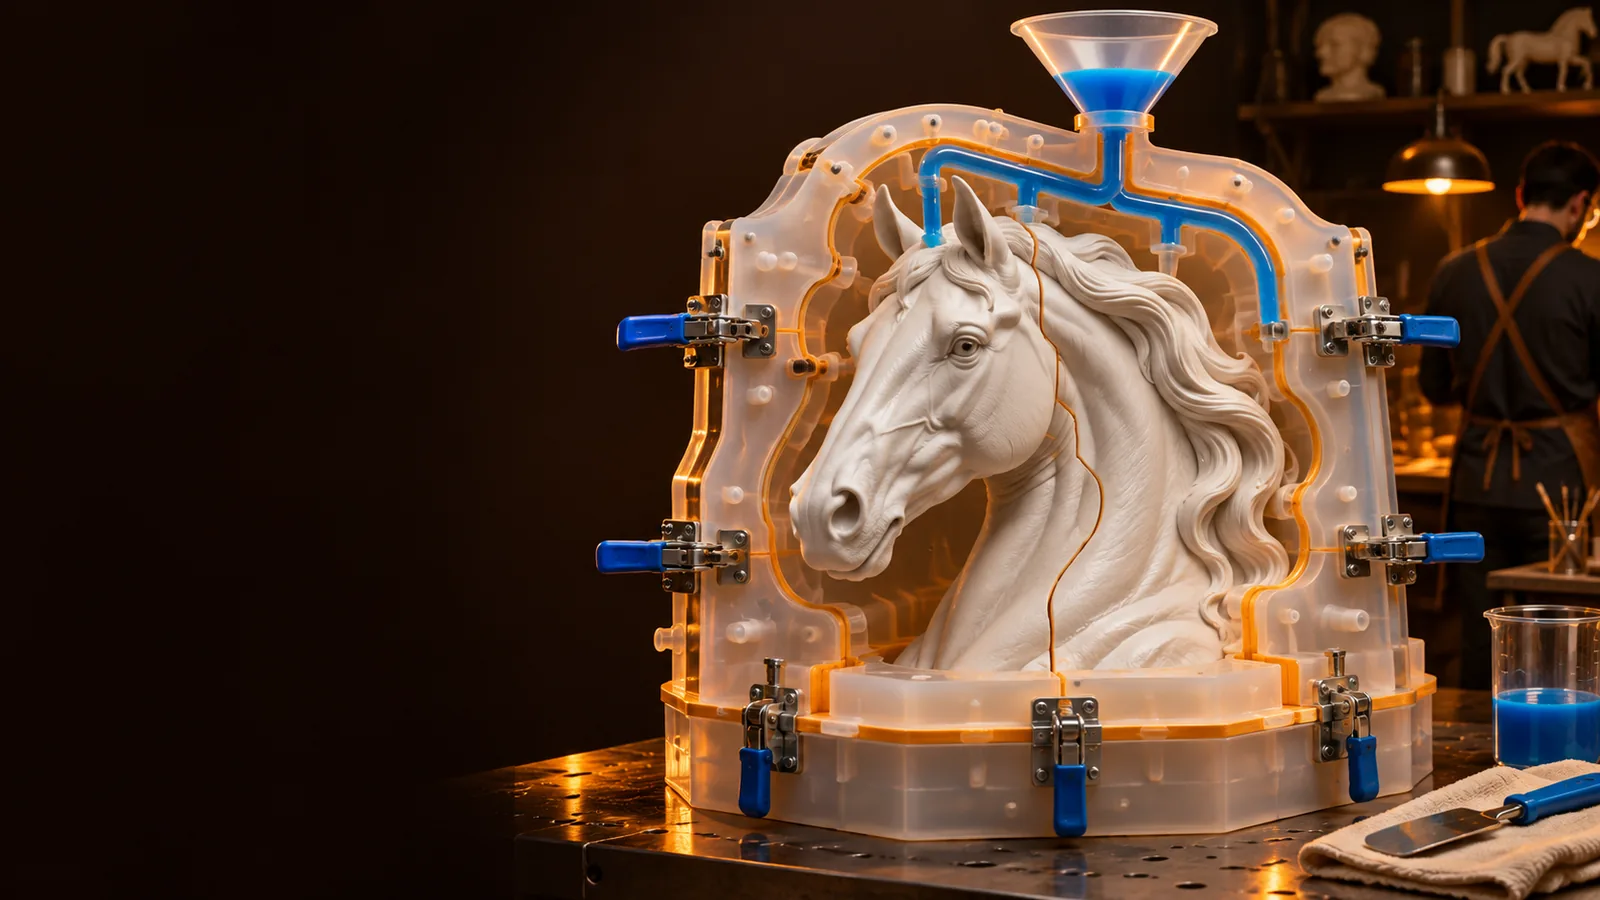
Start with intent
A strong result begins with a specific object brief. These examples show the kind of prompt detail that gives a mold generator useful direction without pretending that generated geometry is production-ready.
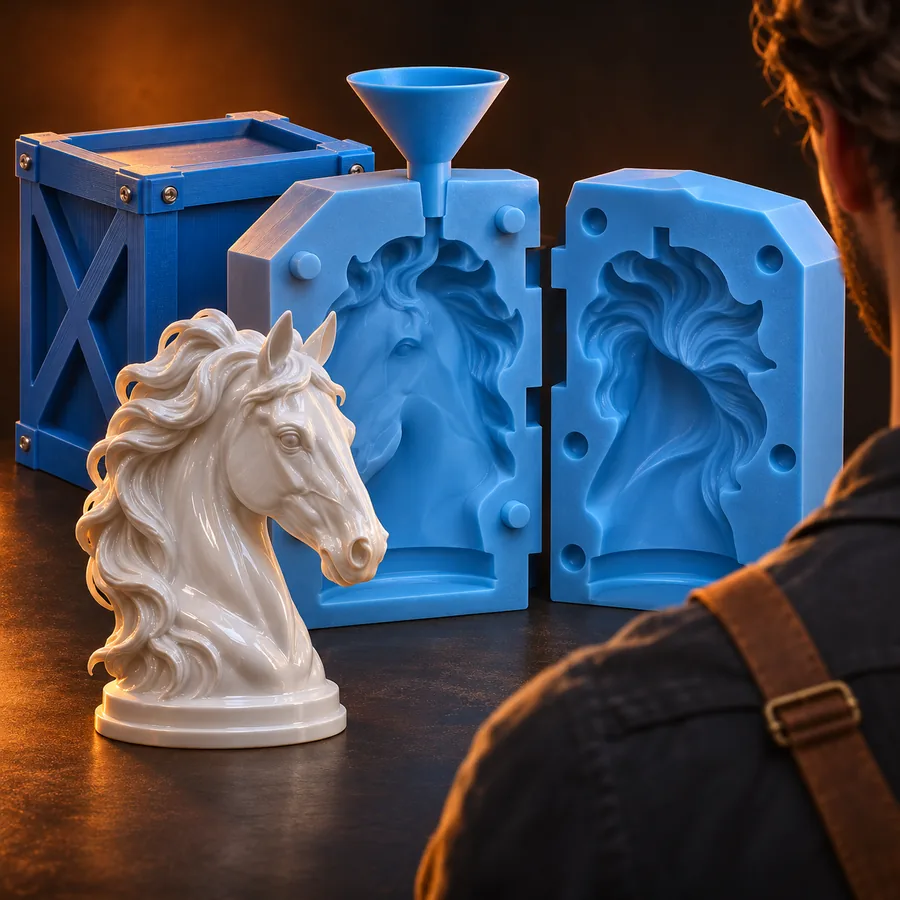 Multipart
1
Create a two-part silicone mold for a small rounded figurine, with a visible split line and alignment keys.
 Direct print
2
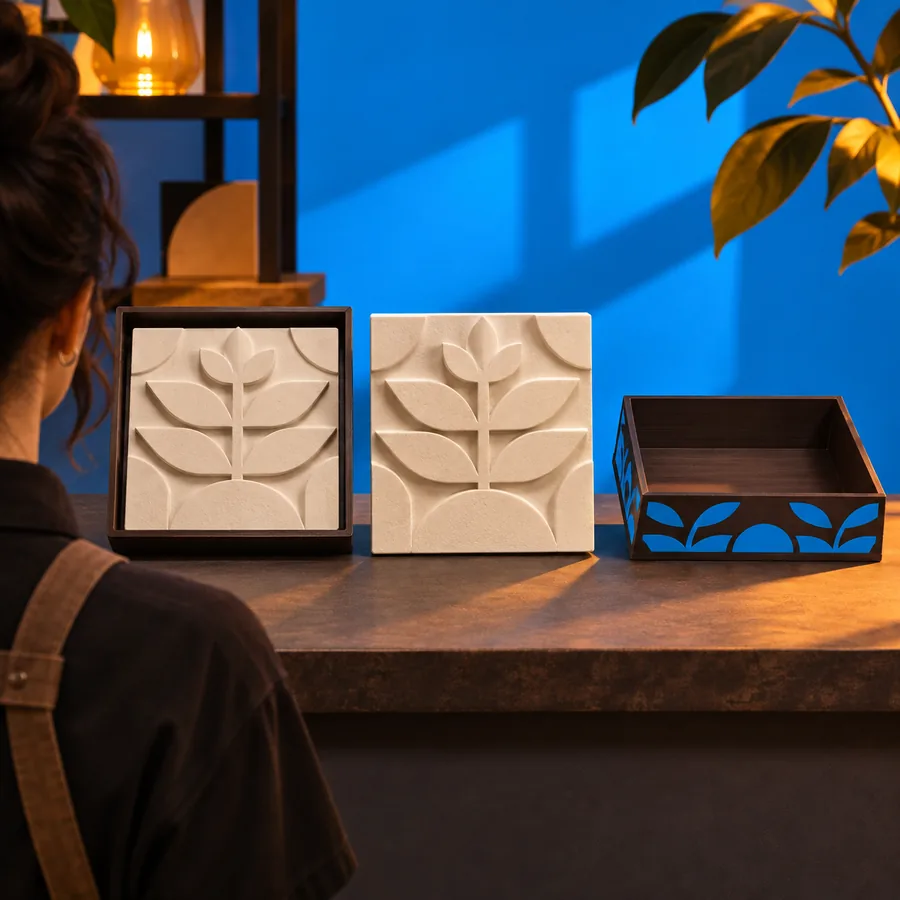
Design a direct-print mold for a shallow tray with an open base, smooth inner walls, and a removable casting piece.
 Support
3
Make a protective outer shell around a small flexible mold, leaving room for support channels and easy demolding.
Name the object, cavity, split, release direction, and any details that must remain accessible.
How the workflow works
Treat the first generation as a visual starting point. The useful work is the short loop between describing the mold, inspecting its structure, and tightening the brief.
State the part being molded, the intended casting material, and the shape features that matter. Mention whether you need a one-piece cavity, a split mold, an open base, or a support shell.
Look for cavity access, trapped areas, sharp transitions, thin walls, and a split line that makes sense. Rotate the result and compare the outside form with the negative space it creates.
Ask for clearer alignment features, a wider opening, a changed release direction, or more room around a delicate detail. Save the strongest concept as a reference for later CAD cleanup and printing.
Practical starting points
Different makers need different kinds of geometry. Use the first pass to communicate intent, compare approaches, and identify what needs manual modeling.
You need to test a small enclosure, knob, or branded form before committing to detailed CAD.
A generated concept gives the design review something tangible to discuss, including cavity direction and parting logic.
mold maker aiYou are shaping a planter, tray, figurine, or decorative object and want to explore a mold layout quickly.
A prompt can expose whether a simple open mold or a multipart arrangement better fits the object.
3d mold design softwareYou are preparing a short-run casting aid and need to compare support, access, and demolding ideas.
The concept becomes a visual checklist for the next modeling pass rather than a final manufacturing file.
mold maker aiYou want learners to see how an object changes when it becomes a cavity, split, or supporting shell.
The prompt-led process makes mold planning easier to explain before students build the geometry manually.
3d mold design softwareInspect before fabrication
A generated shape can look convincing while still being difficult to print, fill, release, or clean. The before-and-after view is a reminder to refine for function, not only appearance.
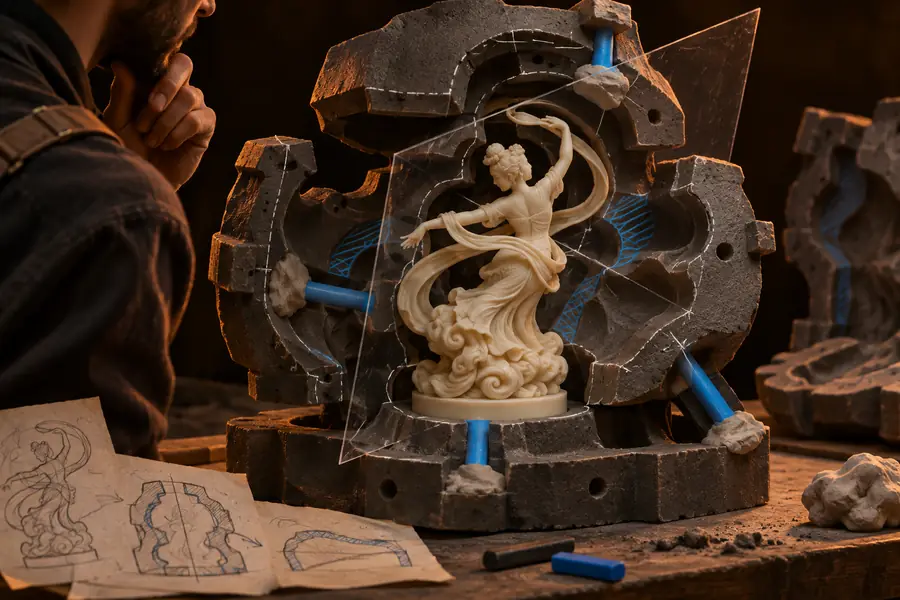
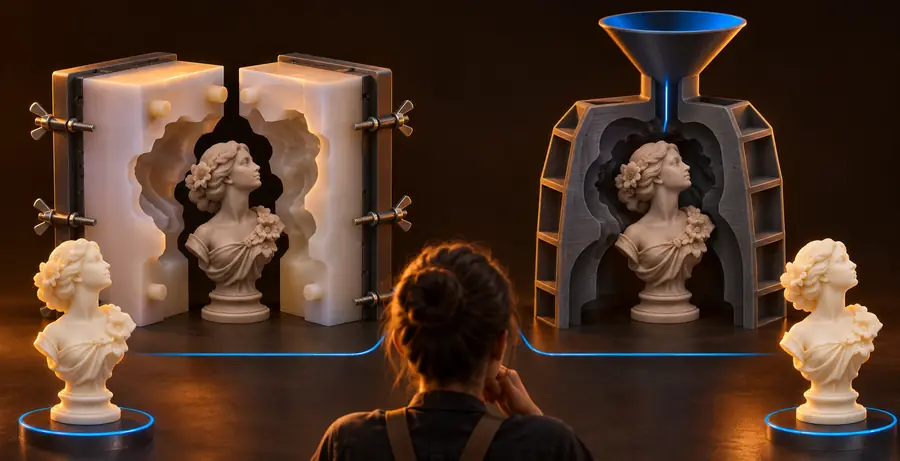
Check wall thickness, undercuts, trapped volumes, alignment, access for pouring, and the direction in which each part should release.
Continue the workflow
Use an AI-led starting point when the main challenge is turning a verbal idea into a mold concept.
Explore design software when you need more deliberate control over dimensions, surfaces, and editable construction.
Review silicone-focused considerations when flexibility, release, and multipart construction shape the mold brief.
Choose the right first pass
The best approach depends on whether you are exploring form, preparing a fabrication reference, or building geometry that must be edited carefully afterward.
Prompt-generated concept
A clear object and mold brief
Manual design workflow
Measured dimensions and known constraints
Prompt-generated concept
Quickly compares cavity, split, and shell ideas
Manual design workflow
Requires setup before comparison
Prompt-generated concept
Needs inspection and later refinement
Manual design workflow
Direct control over dimensions and tolerances
Prompt-generated concept
Can suggest a direction from the prompt
Manual design workflow
Can be planned explicitly around the object
Prompt-generated concept
Useful for visualizing the idea
Manual design workflow
Better for checking thin walls, vents, and interfaces
Prompt-generated concept
Concept exploration and communication
Manual design workflow
Cleanup, verification, and fabrication preparation
Turn intent into form
A good prompt does not replace inspection. It gives you a faster way to test mold layouts, spot awkward release directions, and communicate the shape you want before investing in detailed construction.
Mold generator FAQ
It helps turn a written description of an object and its mold requirements into a visual mold concept. You can use that concept to explore cavity shape, split direction, openings, supports, and other decisions before detailed modeling.
A generated concept should be treated as a starting point, not an automatic manufacturing guarantee. Inspect the geometry for watertightness, wall thickness, undercuts, alignment, and material-specific requirements before preparing a print.
Name the object, the intended casting material, the number of parts, the desired opening or split, and any details that need support or easy release. Mentioning a flat base, alignment keys, channels, or an open pour area can make the brief more useful.
No. An AI mold generator is useful for exploring and communicating possible forms from a description, while mold design software is better suited to measured construction and controlled edits. Many workflows use the generated concept as a reference before rebuilding or refining it in a design tool.
Make the next prompt more specific about release direction, cavity access, wall thickness, alignment, and the features that must remain visible or removable. Change one or two constraints at a time so you can tell which instruction improved the result.