Concept to cavity

Use mold maker ai to explore a mold concept

Start with the object you want to reproduce and the material you plan to cast. An AI-assisted concept can help you frame the geometry, but you must still check whether the mold can be made and used.

Check geometry before fabrication
3D mold design workspace

One-line value: a clearer starting concept

Use an initial concept to identify the questions your mold design must answer, not as a substitute for a tested mold.

Prototype maker

You need a cavity around a simple object and want to decide where the halves should separate.

Sketch a parting-line candidate, then inspect undercuts on the actual model. A 3d print mold generator is the next topic when printable geometry is the priority.

3d print mold generator

Product designer

A small housing needs a repeatable casting process, but its openings complicate release.

List likely release problems before refining dimensions. Compare that concept work with the controls expected of 3d mold design software.

3d mold design software

Silicone caster

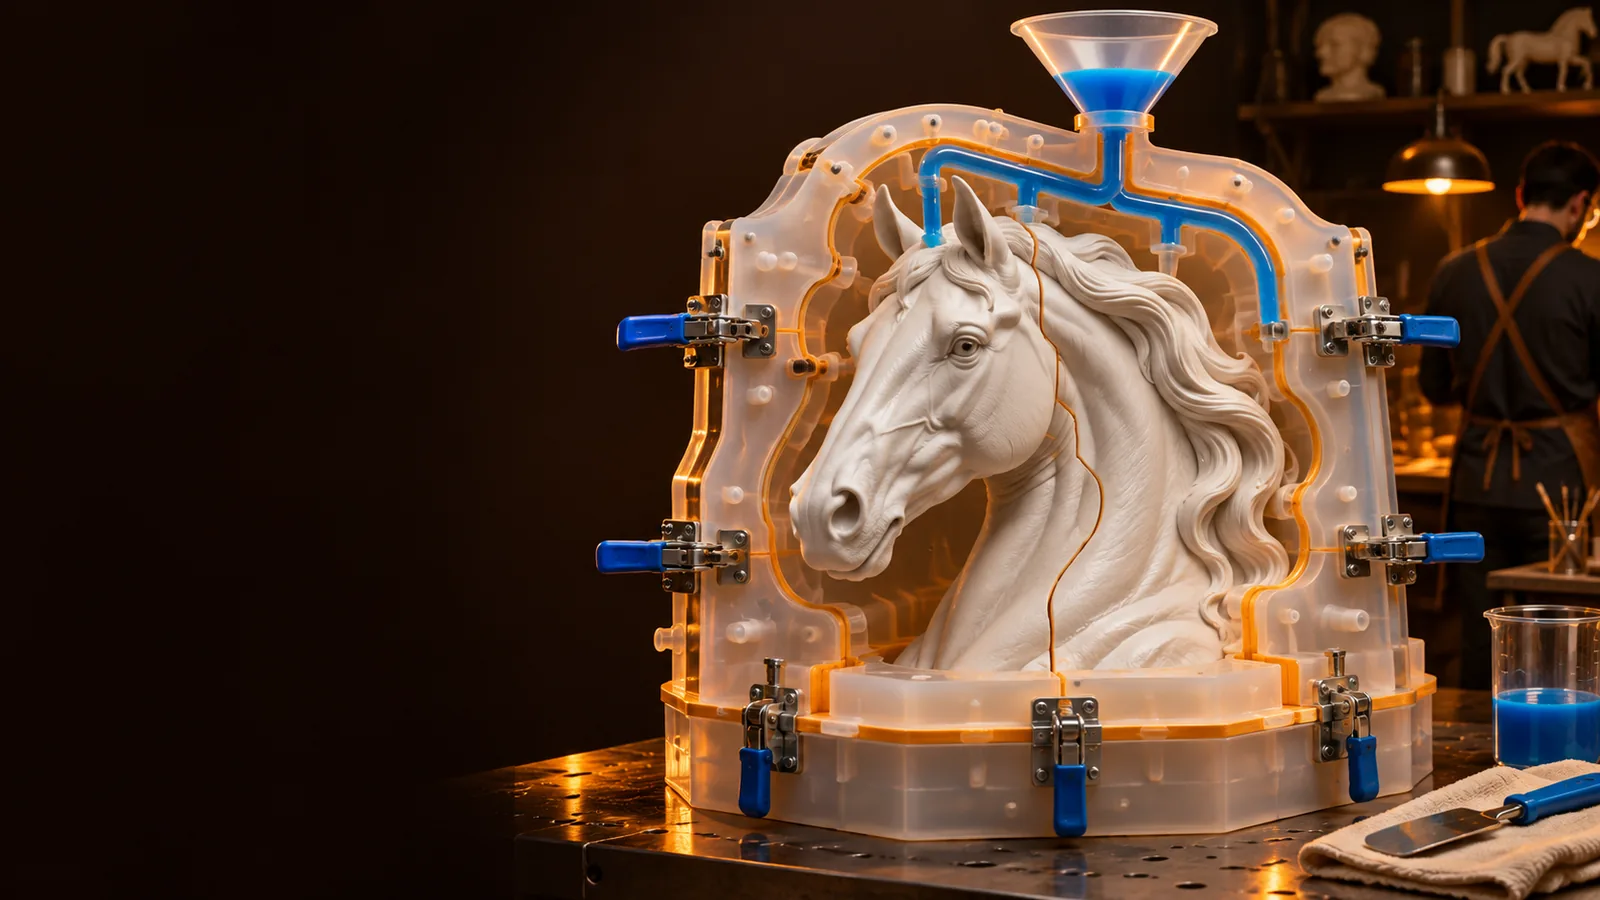
You want to reproduce a sculpted master with a pour opening and room for vents.

Use a concept to place those features, then review the practical considerations for 3d printed molds for silicone.

3d printed molds for silicone

Resin hobbyist

A decorative piece has fine details that could trap air or resist demolding.

Mark delicate areas for inspection and consider how 3d printed molds for resin differ from the final casting mold.

3d printed molds for resin

Three mechanisms behind a useful concept

A practical mold plan connects the shape, the way it opens, and the way material enters.

Describe the master

State its approximate shape, scale, surface details, and casting material. Mention holes, deep recesses, or fragile projections rather than relying on a vague request for a mold.

Propose an opening strategy

Identify a candidate parting line and the direction each piece would move during release. Treat this as a hypothesis: an attractive split can still lock around an undercut.

Plan the casting path

Consider where material enters, where displaced air can escape, and how pieces align when closed. Those decisions affect whether the concept is usable, not just how it looks.
Step-by-step: compare concept and verification

The table separates useful planning questions from checks that need geometry, material knowledge, and a real test.

AI-assisted concept Verified mold design
1

Starting input

AI-assisted concept

A description of the object and intended cast

Verified mold design

Measured geometry and material requirements

2

Parting line

AI-assisted concept

A plausible location to investigate

Verified mold design

A split checked against the full surface

3

Undercuts

AI-assisted concept

Areas flagged for review

Verified mold design

Release evaluated along the actual opening direction

4

Wall thickness

AI-assisted concept

A design consideration

Verified mold design

Dimensions checked for the chosen fabrication method

5

Pouring and venting

AI-assisted concept

Suggested locations

Verified mold design

Paths assessed against flow and trapped air

6

Final confidence

AI-assisted concept

A starting hypothesis

Verified mold design

Fit and casting behavior tested on a prototype

Adapt the review to your casting work

Keep the first mold easy to inspect

For a small, relatively smooth master, begin with a straightforward split. Check that every surface can clear the mold as it opens before adding alignment features.

  • Inspect the proposed opening direction.
  • Leave access for removing the casting.
  • Test fit before making repeated casts.

Protect detail without trapping the cast

Fine projections and recessed texture can make a simple two-part concept impractical. Examine each feature for mechanical lock, tearing risk, and trapped air.

  • Mark deep recesses and narrow tips.
  • Consider whether another part is needed.
  • Place vents where air may collect.

Check the dimensions that matter

A housing or fixture may need predictable edges and mating surfaces. Treat any generated concept as a layout proposal until you check clearances and the properties of the casting material.

  • Identify critical mating surfaces.
  • Account for material behavior.
  • Measure the first casting.

Limits and edges

A promising concept is not proof that a mold will open cleanly, survive use, or produce a sound casting.

No automatic release guarantee

A proposed parting line may miss undercuts or create a piece that cannot be removed without damage.

WorkaroundInspect the full model along each opening direction and revise the split before fabrication.

No material validation

A concept alone cannot establish that a print material, coating, or mold material suits your casting process.

WorkaroundCheck material guidance and test a small sample with the intended casting material.

No assured printability

Thin walls, enclosed spaces, poor drainage, or unsupported features may defeat an otherwise sensible layout.

WorkaroundReview the geometry for your chosen printer and process before committing to a full mold.

No substitute for a trial cast

Flow, bubbles, fit, and surface finish become clear only when the design is tested under realistic conditions.

WorkaroundMake a prototype and adjust the design using the result.

Move from concept to careful review

Explore a mold direction

Bring a specific object and intended casting material to the design process. Use the resulting concept to guide inspection, then validate its geometry and behavior before relying on it.

  • Start with a clearly described shape
  • Check release and material paths
  • Prototype before repeated casting

Mold maker AI FAQ

It can help organize an initial concept around a parting line, mold pieces, alignment, and a possible pour path. Those suggestions still need to be checked against the actual object and casting process.

Not safely on the strength of the concept alone. Inspect wall thickness, clearances, undercuts, openings, and the requirements of your printing method before fabricating a mold.

Do not assume it will. Inspect the complete geometry along each proposed release direction, especially around recesses, hooks, and fine details.

Start with the shape and ask whether the master and casting can be removed without damage. Complex recesses may call for additional pieces or a different mold material; a trial helps confirm the choice.

No. Material compatibility, air escape, pouring, alignment, and demolding all affect the result. A prototype cast gives you evidence for the next revision.

Start creating
Start creating