Resin casting

Build reliable 3d printed molds for resin

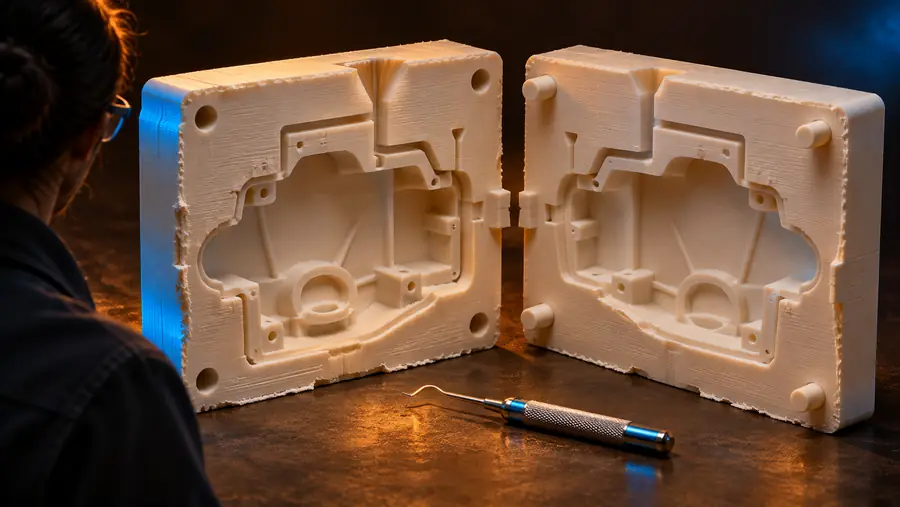
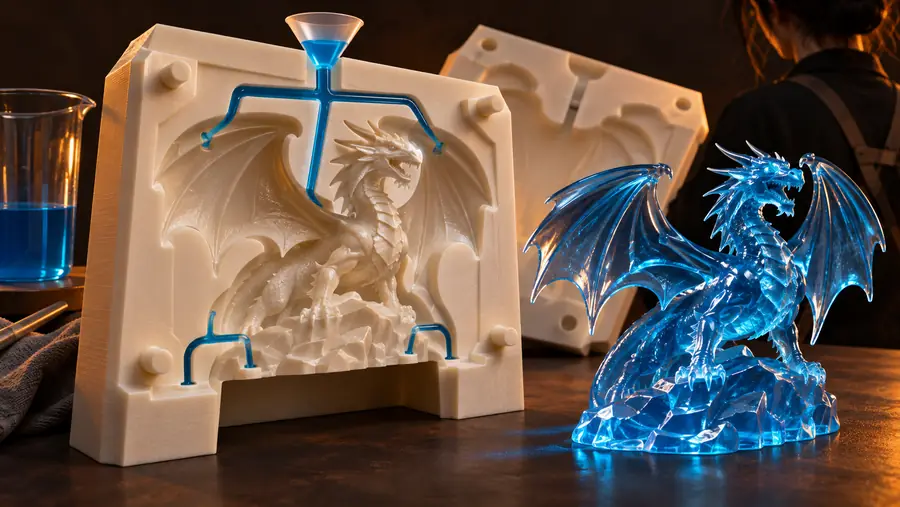
Design 3d printed molds for resin with clearer parting, usable draft, and a cavity suited to your casting workflow. Start with a focused description, then refine the output before printing.

Review the model before printing
3D mold workspace showing a modeled casting form

Jewelry maker

You need a repeatable cavity for a small pendant or textured charm and want the split line kept away from the visible face.

A cleaner parting plan makes finishing and demolding more predictable. The related guide to 3d printed molds for silicone explains a different flexible-casting route.

3d printed molds for silicone

Prop builder

You are casting a detailed prop part in resin and need alignment features that keep both mold halves registered.

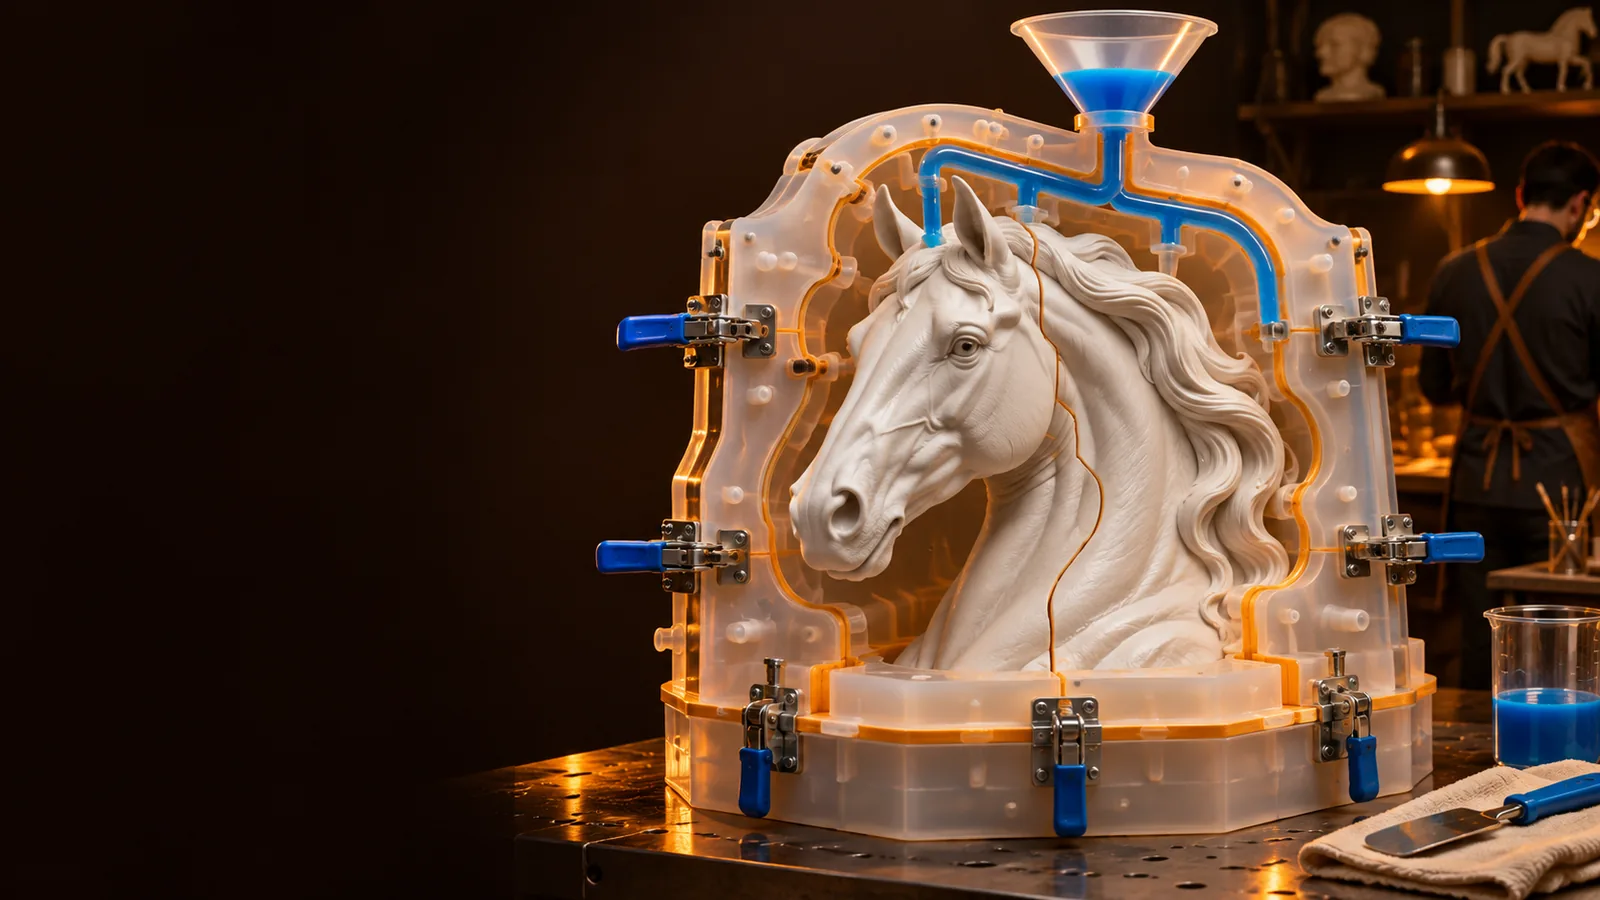
A keyed two-part layout can reduce offset at the seam. The related guide to 3d printed molds for silicone covers when a flexible mold may better follow undercuts.

3d printed molds for silicone

Product designer

You want a quick physical check of a small enclosure, badge, or ornamental form before committing to a final mold.

A printable cavity lets you inspect fit, draft, and release risks early. The related guide to 3d printed molds for silicone offers another material-specific comparison.

3d printed molds for silicone

Small-batch caster

You are repeating the same resin pour and need a mold layout that supports consistent filling and cleanup.

A defined pour path and accessible seam make the routine easier to inspect between casts. The related guide to 3d printed molds for silicone is useful when flexibility matters more than rigidity.

3d printed molds for silicone
A/B structural difference table

A rigid printed mold and a flexible silicone mold can produce similar shapes, but their release behavior and design priorities are different.

Printed resin mold Silicone mold
1

Mold body

Printed resin mold

Rigid printed shell or block

Silicone mold

Flexible elastomeric form

2

Release path

Printed resin mold

Needs draft, split planning, or a removable core

Silicone mold

Can flex around many undercuts

3

Surface result

Printed resin mold

Reflects layer lines and post-processing

Silicone mold

Can capture a smooth master surface

4

Alignment

Printed resin mold

Designed keys and pins can hold halves in place

Silicone mold

Usually needs a jacket, box, or registration features

5

Best for

Printed resin mold

Rigid geometry, short runs, and fast form checks

Silicone mold

Detailed forms with awkward release paths

6

Common risk

Printed resin mold

Locked-in parts, leaks at seams, or visible print texture

Silicone mold

Tears, trapped bubbles, or distortion during demolding

7

Preparation

Printed resin mold

Print, clean, seal, and test the cavity

Silicone mold

Mix, degas when needed, cure, and remove the master

Resin mold concept before edge and release checks Close 3D view of a mold edge with a defined seam

What conversion loses

A source shape is not automatically a usable mold. Conversion can preserve the outside form while losing the practical details that make resin casting repeatable.

  • Raw conversion
  • Casting-ready review

Compare the seam, draft, opening, and edge access before sending the model to a printer.

The tool block

Use the prompt workspace to describe the object, the casting material, and the constraints that matter most: split direction, wall thickness, alignment, pour access, and the surfaces that must stay clean. Treat the result as a design starting point rather than a guaranteed production mold. Open the generated model in your normal inspection workflow, then adjust the cavity and release path for your printer and resin.

  • Describe the part and casting goal
  • Call out undercuts and the preferred split
  • Review the model before printing

How to verify after

A successful-looking viewport is not enough. Check the physical logic of the mold before mixing resin or committing to a longer print.

It cannot guarantee release

A generated cavity may still trap a part behind an undercut or an insufficient draft angle.

WorkaroundRotate the parting line, add draft, or divide the mold into more serviceable pieces.

It cannot remove print texture

Layer lines, seams, and imperfect walls can transfer directly to the cast surface.

WorkaroundChoose a suitable layer height and plan sanding, sealing, or a master surface treatment.

It cannot prevent every leak

A seam can leak when halves are misaligned, clamped unevenly, or left without a controlled pour path.

WorkaroundAdd alignment features, inspect the mating faces, and run a small test pour first.

It cannot validate your resin process

Cure behavior, heat, pigment, and demolding force depend on the resin and your working conditions.

WorkaroundFollow the resin maker's instructions and test with a small amount before a full cast.

Variant FAQ

You can, provided the mold material, surface finish, geometry, and resin are compatible. Test a small cast first because uncured resin, heat, adhesion, and seam leakage can affect the result.

There is no single best material for every resin or mold shape. Choose a material that supports the required rigidity, temperature tolerance, surface finish, and post-processing, then confirm compatibility with the resin supplier.

Improve the mold surface, add suitable draft, and use a release product only when it is compatible with both the mold and the casting resin. A small test helps reveal whether the issue is adhesion, an undercut, or an overly rough surface.

A one-piece mold can work for open shapes with a clear pull direction. Use two or more pieces when the object has undercuts, a broad enclosed cavity, or a release path that would otherwise lock the cast inside.

Wall thickness depends on the mold size, print process, clamping force, and casting pressure. Start with a rigid structure that will not flex during the pour, then test and reinforce areas around the seam, keys, and opening.

Start creating
Start creating