Start from the casting goal
State what the mold should produce, which material surrounds the master, and whether the result should split, open, or print as one component.
Design with intent
3D mold design software focuses on the negative space, split lines, wall access, and assembly details that turn a shape into a usable mold concept. Describe the form you need, then refine the result for your process.
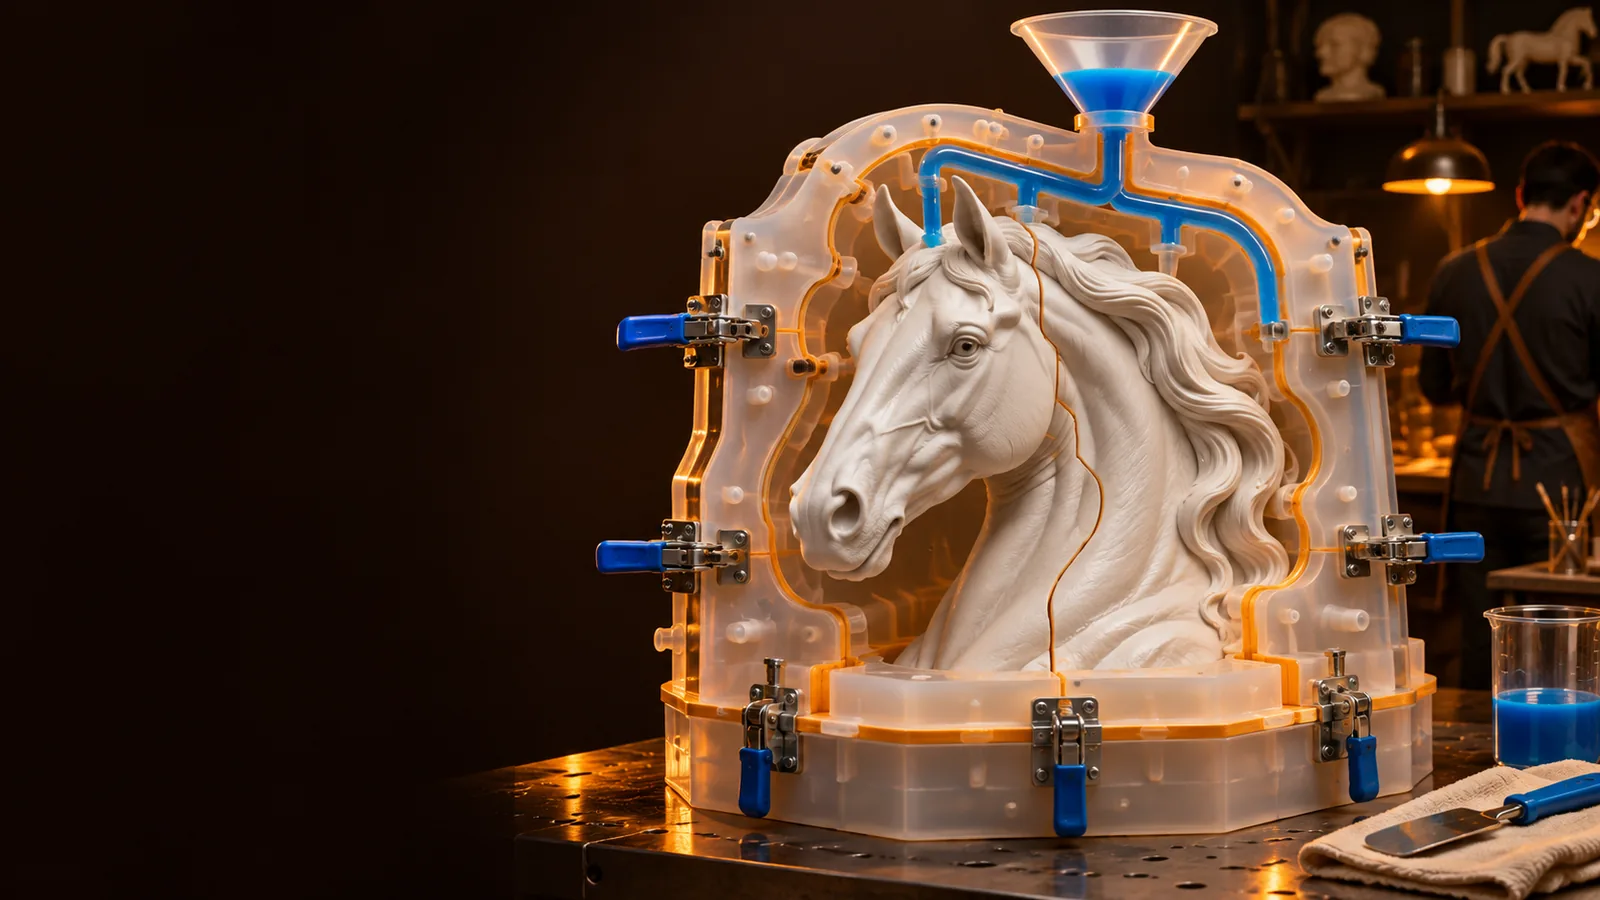
Compare the entry points
A general 3D modeler is useful for building the source object. A mold-focused entry point starts closer to the decisions that affect casting, printing, release, and assembly.
State what the mold should produce, which material surrounds the master, and whether the result should split, open, or print as one component.
Work around the cavity, shell, pour path, vents, alignment features, and access zones instead of treating the mold as an afterthought.
Inspect the concept for trapped geometry, awkward seams, unsupported overhangs, and surfaces that may need cleanup before fabrication.
Focused workflows
The value of a focused mold workflow is not simply making another 3D shape. It is keeping mold behavior visible while you make design decisions.
You have a finished object but need a casting-ready enclosure with a sensible opening and a seam that will not cross the most visible face.
The concept exposes the mold logic early, while [mold maker ai](/mold-maker-ai/) can help explore alternate object forms before you commit to the cavity.
mold maker aiYou want to reproduce a small sculpted form without manually rebuilding every wall, support, and registration feature around it.
A mold-oriented starting point gives you a clearer first pass, while [3d print mold generator](/3d-print-mold-generator/) is useful when the next decision is direct fabrication.
3d print mold generatorYou need to compare one-piece, split, and multi-part approaches before selecting a material and committing machine time.
The design remains organized around release and assembly questions; [mold maker ai](/mold-maker-ai/) can broaden the concept set when the form itself is still changing.
mold maker aiYou are checking whether a concept can become a repeatable tool rather than a visually convincing shell with hidden traps.
A focused workflow makes cavity access and parting decisions easier to discuss, while [3d print mold generator](/3d-print-mold-generator/) helps move a selected design toward a printable version.
3d print mold generatorChoose your starting view
Use the audience view that matches your next decision. You can begin with the part, the casting process, or the fabrication constraints.
Use this route when the master shape is known but the mold architecture is not. Describe the object, its important faces, and the finish you want to preserve.
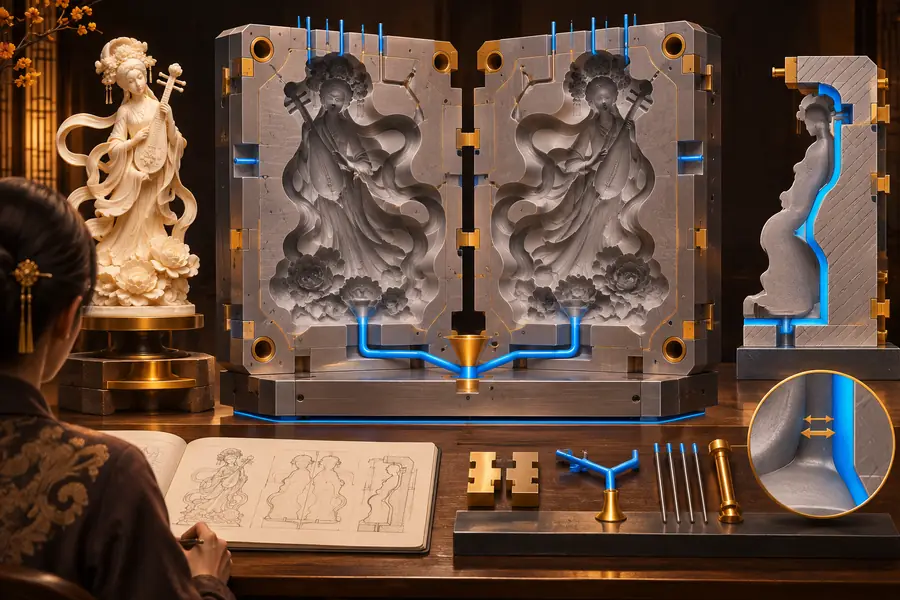
Use this view when silicone, resin, plaster, or another casting process determines the opening, seam, wall strategy, or number of parts.
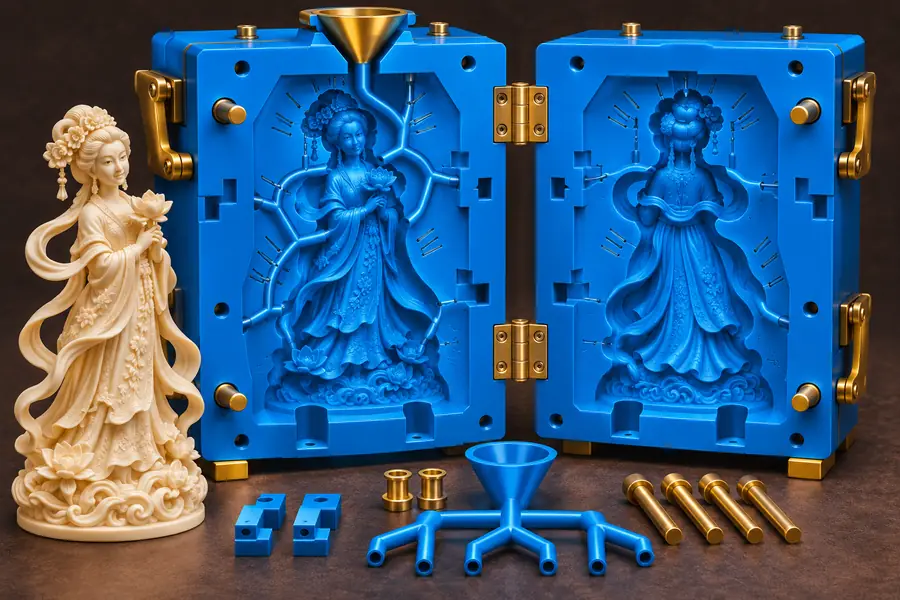
Use this route when the design must be printed, machined, or assembled from separate pieces. The output is a concept to inspect, not a substitute for checking wall thickness and machine limits.
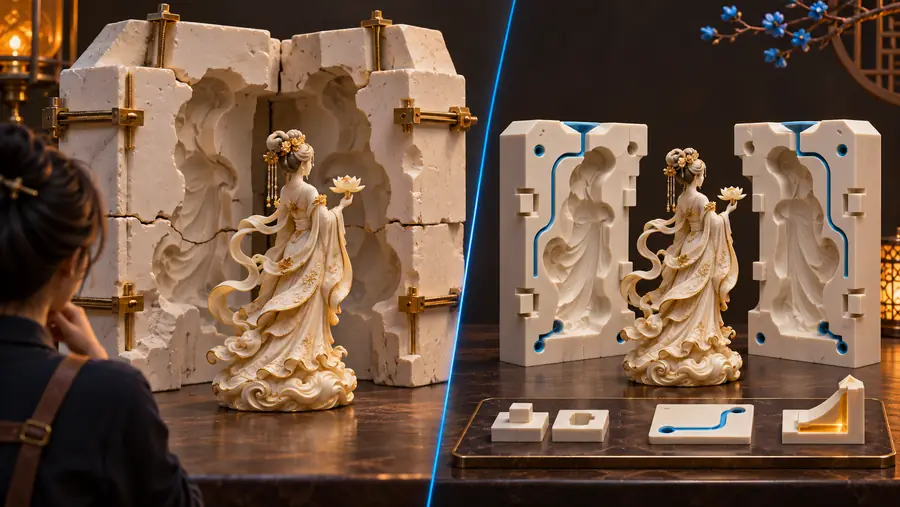
Prompt to output
These examples show how a precise brief changes the result. Treat each output as a design direction that still needs dimensional review, cleanup, and process validation.
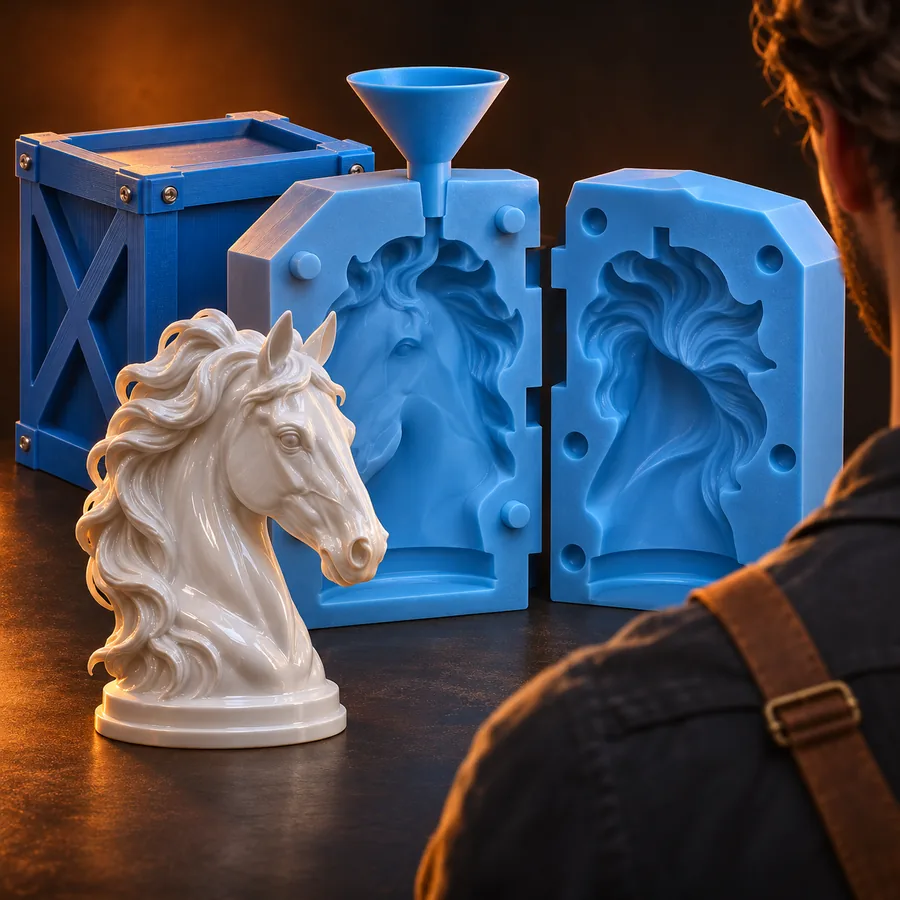 Workspace
1
Create a blue adjustable mold workspace for a small sculpted form, showing the cavity, split line, alignment features, and open top view.
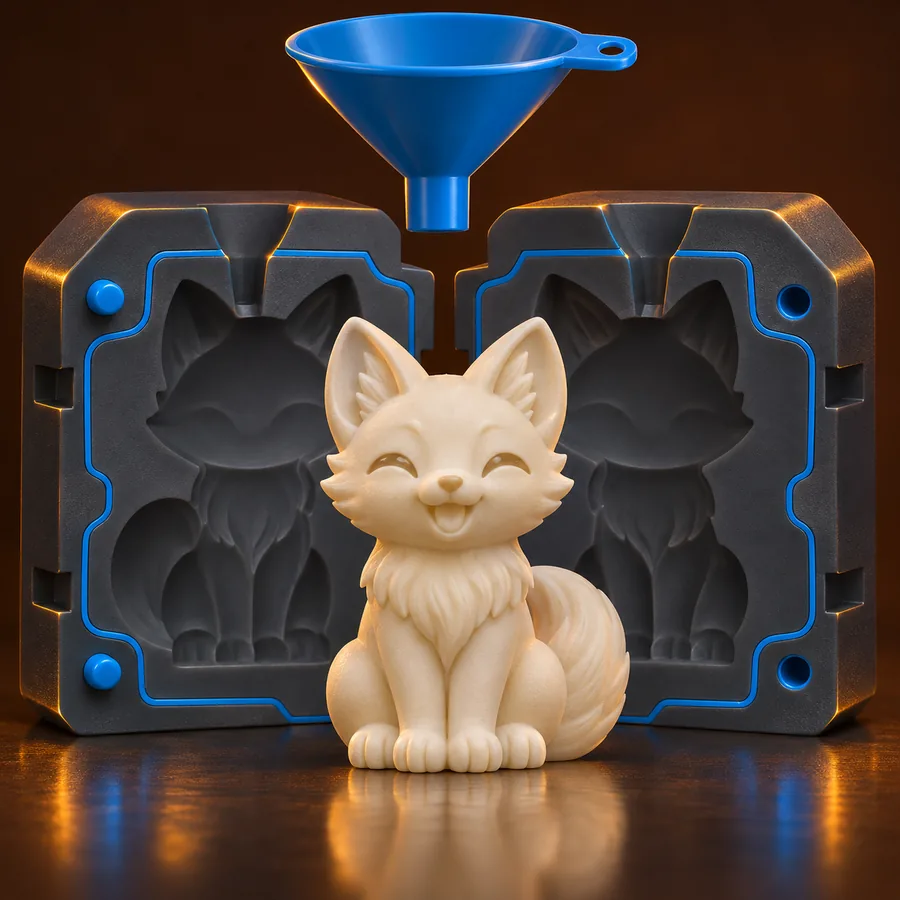 Printable
2
Design a blue direct-print open-base mold for a compact rounded object, with a clean cavity, stable outer walls, and visible release direction.
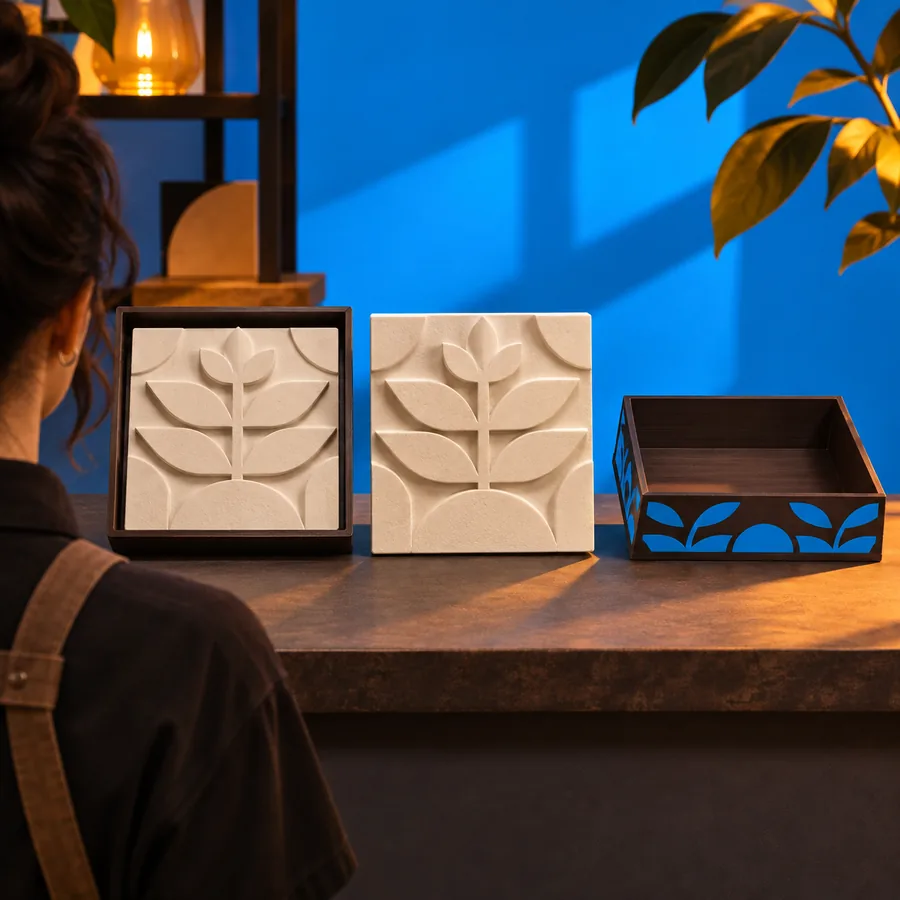 Casting
3
Create a blue multi-part silicone mold for a detailed sculpted form, with separated components, alignment features, pour access, and a clear assembly layout.
Adapt the prompts by naming the material, opening direction, critical surface, and fabrication method.
Make the next pass
A focused brief gives you more to review than a generic object prompt: cavity logic, parting strategy, access, and assembly are visible from the beginning. Use the result to compare approaches before investing in detailed CAD cleanup or fabrication.
Common questions
It is used to plan the negative space around an object so the result can function as a mold, enclosure, or casting tool. Typical decisions include cavities, parting lines, openings, vents, alignment features, and removable sections.
It can create a printable design direction or model concept, but the final file still needs checks for wall thickness, overhangs, tolerances, machine size, and material behavior. Treat the generated result as a starting point for fabrication review.
Include the object, approximate scale, casting or printing material, desired number of parts, opening direction, and any surfaces that must remain clean. Mention pour openings, vents, alignment keys, or release concerns when they matter.
Yes, the emphasis is different. A general modeler focuses on constructing the object, while a mold-focused workflow keeps cavity access, parting, release, assembly, and fabrication constraints in view.
You can plan concepts for either material, but each process can require different wall, release, venting, and opening decisions. State the intended material in the brief, then validate the design against the specific compound and casting method.