1
Primary role
Printed master
Master for making a silicone negative
Direct printed mold
Container or cavity for receiving silicone
Silicone mold workflow
3d printed molds for silicone can work as durable masters, direct casting forms, or multi-part tooling. Start with the shape, then plan draft, seams, and release before printing.
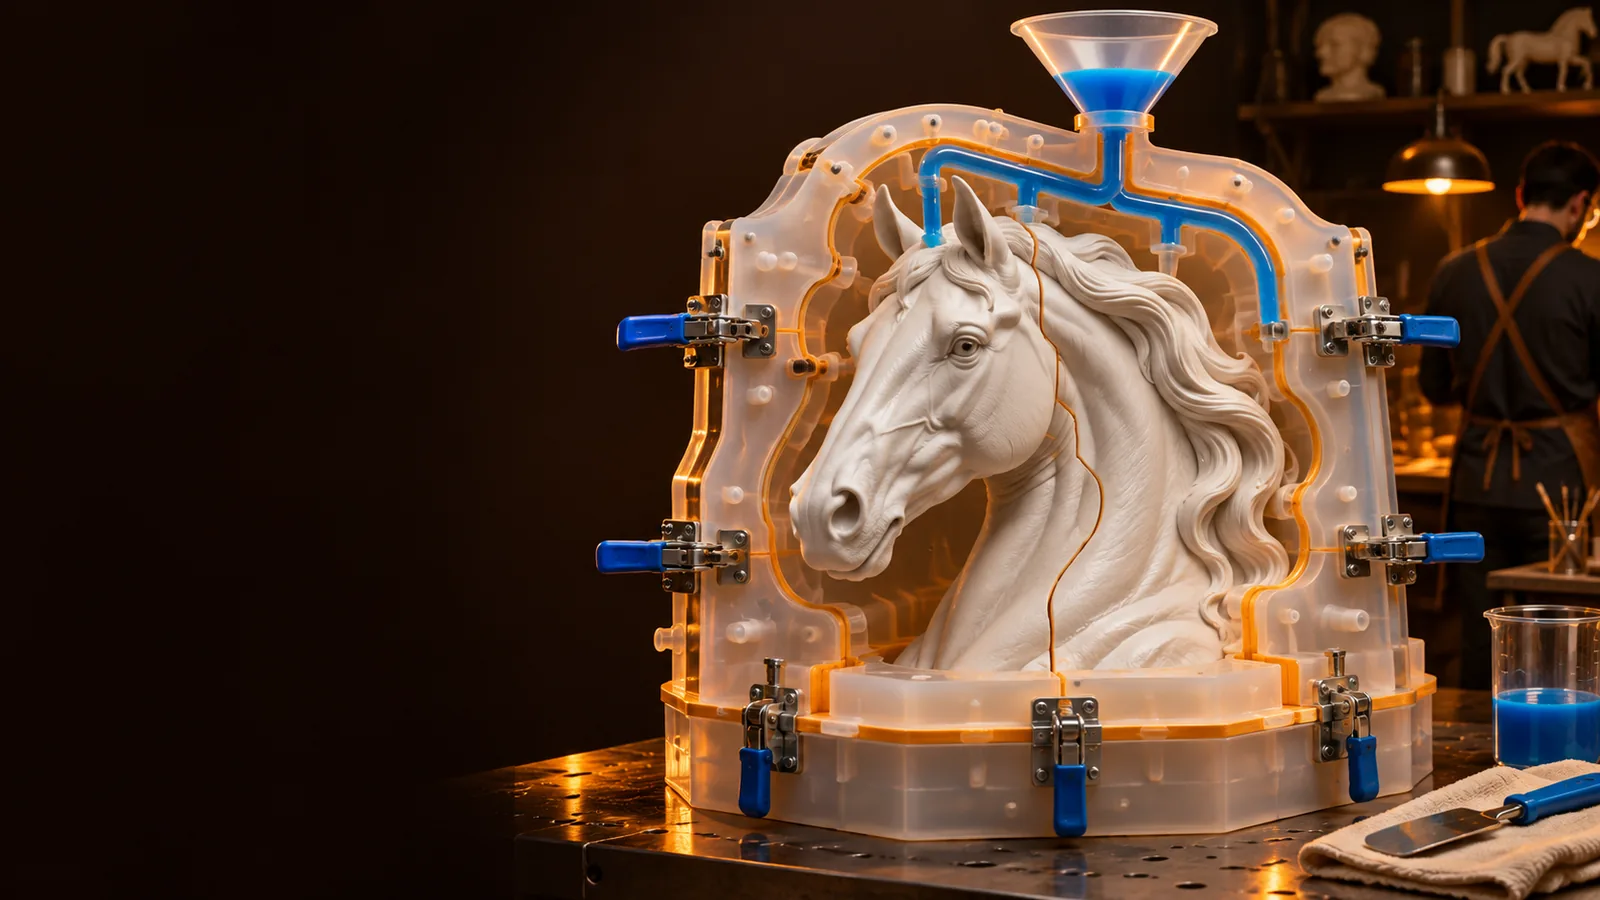
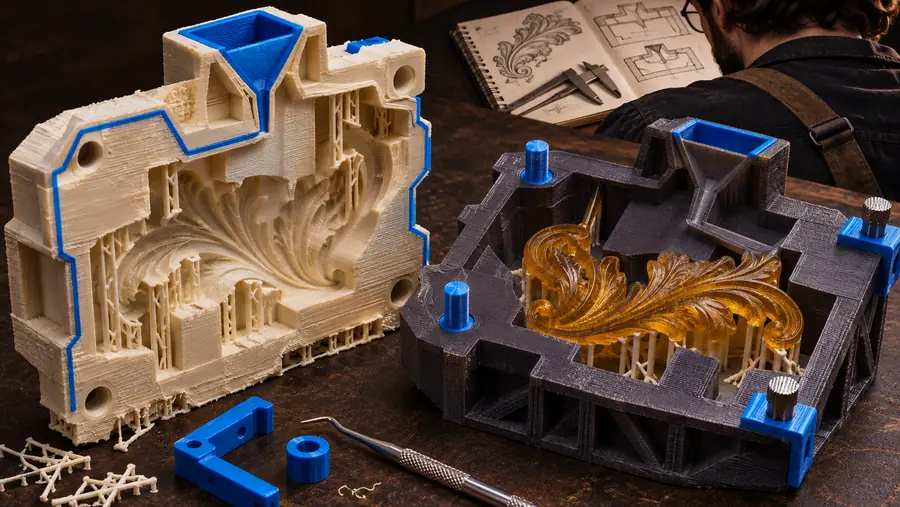
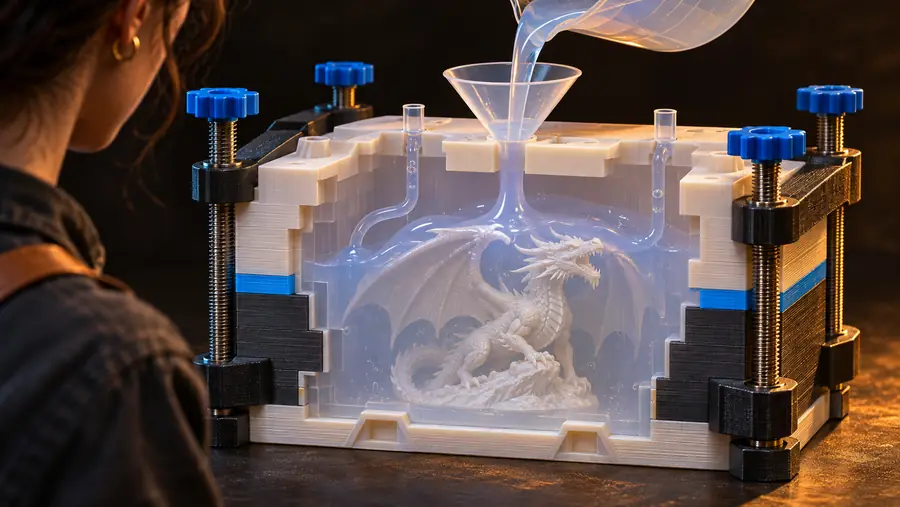
Shape before casting
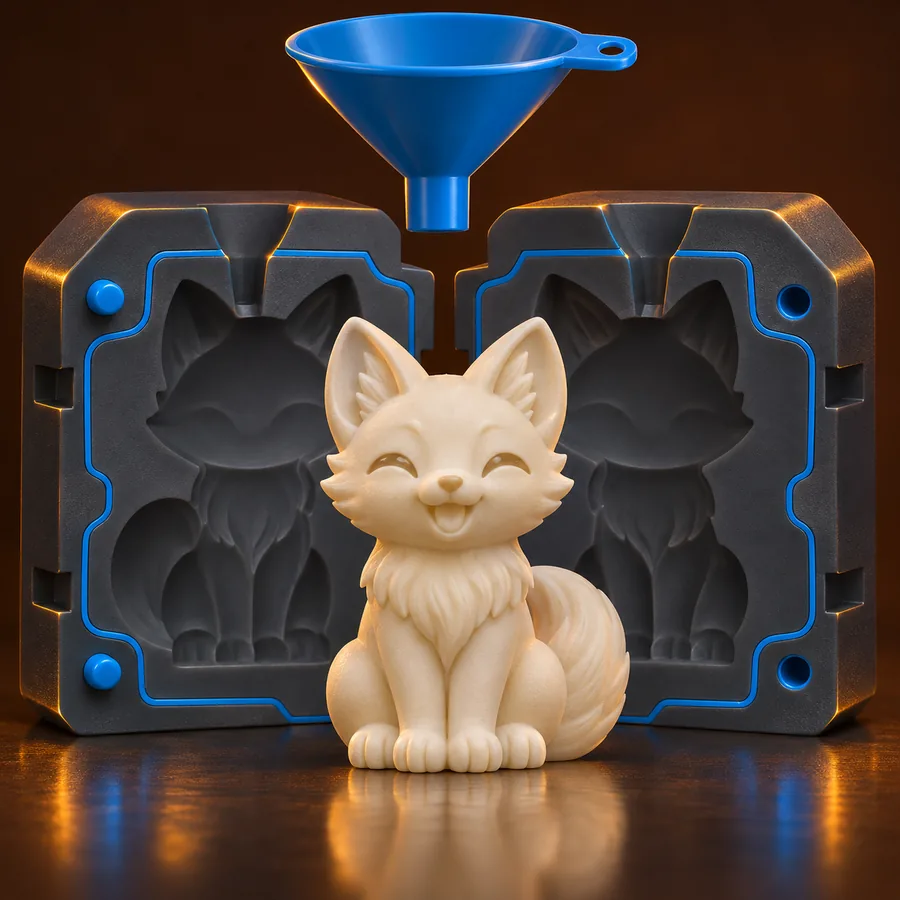
A printed mold workflow turns a digital form into a physical cavity that can guide silicone around a master or receive a silicone pour directly.
Use the divider to compare an early mold concept with a separated, casting-ready arrangement.
Material path
The right route depends on whether the print is the final container, a reusable master, or one part of a larger mold assembly.
Printed master
Master for making a silicone negative
Direct printed mold
Container or cavity for receiving silicone
Printed master
Smooth exterior finish and sealed details
Direct printed mold
Clean cavity walls and reliable release
Printed master
Usually set by the silicone mold design
Direct printed mold
Built into the printed assembly
Printed master
Helps remove the silicone negative
Direct printed mold
Helps remove the cured casting or insert
Printed master
Organic forms and repeatable mold making
Direct printed mold
Simple shapes, fixtures, and short-run tooling
Printed master
Inspect the master for leaks and undercuts
Direct printed mold
Inspect joints, seams, and clamp alignment
Printed master
Pour silicone around the printed form
Direct printed mold
Prepare silicone, release agent, and closure
Printed master
Sand, fill, or seal when detail requires it
Direct printed mold
Seal porous areas that could trap silicone
Practical applications
Different makers use the same design logic for different casting jobs. Choose the path that matches your shape, release direction, and expected reuse.
A detailed costume part needs a flexible negative with clean seam placement.
A printed master helps establish the cavity while silicone captures surface detail.
3d printed molds for resinA small enclosure needs several soft prototypes before final tooling.
A modular printed mold makes revisions easier while the silicone test parts remain consistent.
3d printed molds for resinA repeatable sculpted form needs a removable mold with a predictable opening.
Draft, keys, and a controlled parting line make demolding less disruptive.
3d printed molds for resinPlanning tool
Use this rough planning slider to estimate how much silicone mix to reserve after allowing a small working margin around the modeled cavity.
Prompt examples
These example prompts show how to describe geometry, release direction, and assembly details before refining the generated result.
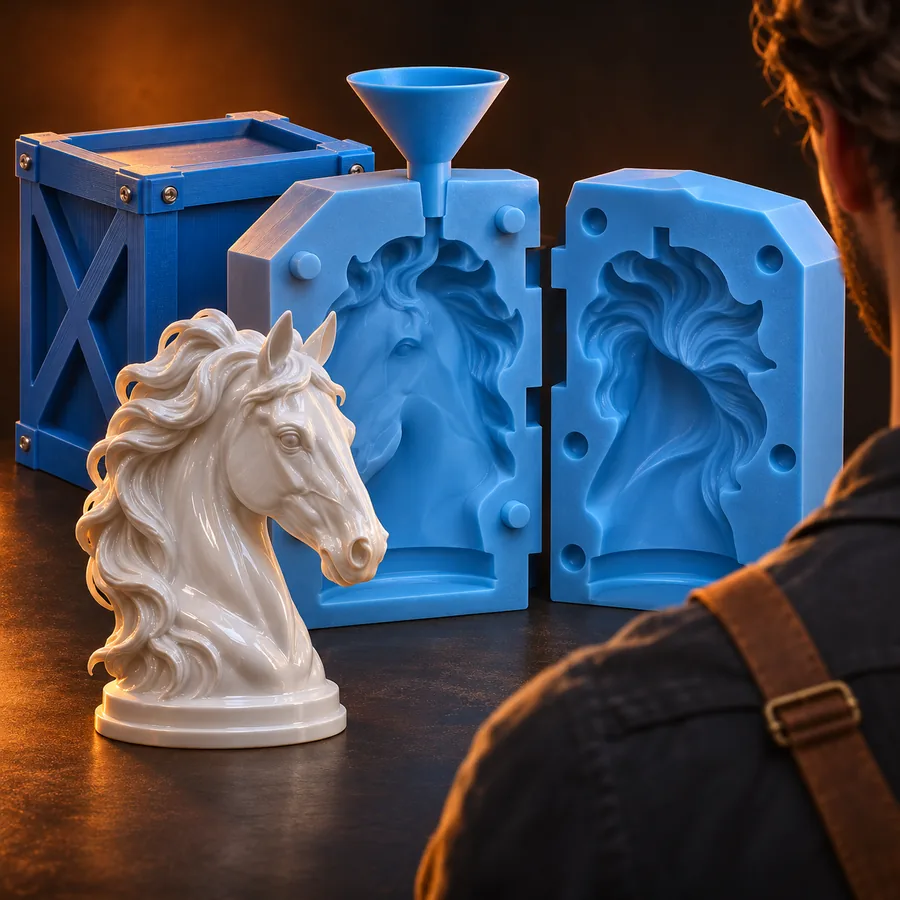 Two-part mold
1
Create a two-part silicone mold for a small rounded object, with alignment keys, a flat parting line, and a centered pour channel.
 Open-base mold
2
Design an open-base silicone mold with thick walls, a stable flat rim, gentle draft, and a removable insert for a simple sculpted form.
 Detailed form
3
Generate a multi-part silicone mold for a detailed planter shape, including registration keys, a split seam, vents, and a top pour opening.
Replace the object, dimensions, and release direction while keeping the assembly constraints explicit.
Simple workflow
A reliable mold starts with a clear digital brief and ends with a physical inspection before silicone is mixed.
Name the object, key dimensions, surface details, opening, and whether the print is a master or a direct mold.
Add draft, parting lines, alignment keys, vents, and a pour point wherever the shape needs controlled separation.
Inspect wall thickness, undercuts, seams, and fit before printing, sealing, and preparing the silicone pour.
Start with the shape
Describe the form and its release direction in the industrial studio, then refine the cavity, split, and alignment details before committing to a print.
Variant FAQ
Yes. A 3D print can serve as a master for making a silicone negative, or it can act as a direct mold for receiving silicone. The best choice depends on surface finish, draft, undercuts, and how often the tool will be reused.
The material should provide a stable shape and a surface that can be sealed or finished when needed. PLA, PETG, resin, and other materials may work for different mold roles, but release testing and surface preparation matter more than a single universal choice.
Often, yes, especially when the print has texture, porous areas, tight clearances, or an uncertain surface treatment. Check compatibility with the chosen silicone and test a small area before committing to the full mold.
Plan draft and a clean parting line first, then seal rough or porous surfaces and use a compatible release system when appropriate. Alignment keys, vents, and a removable insert can also reduce force during demolding.