Required
A master shape or a clear description of the object, including approximate dimensions and its intended orientation.
Identify narrow necks, deep recesses, and features that could trap the casting.
Access and workflow
Searching for 3d mold maker free access? Start with the shape you want to cast, then check what the available tool actually lets you design, export, and use. A free starting point is useful only if its limits fit your mold-making workflow.
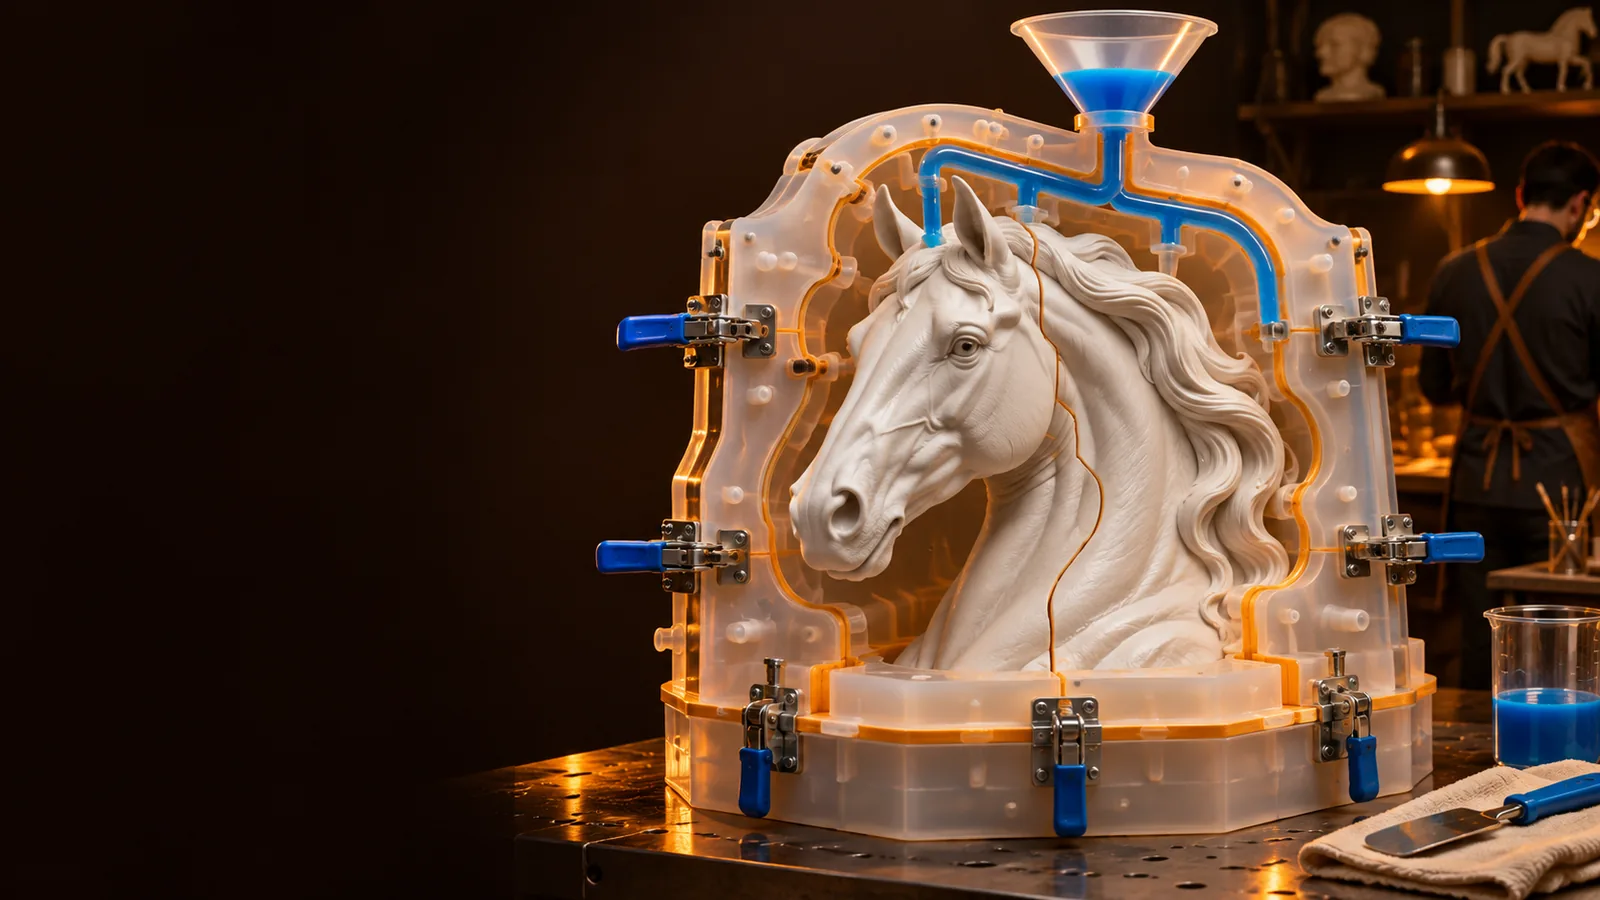
Before testing any 3D mold maker, gather enough detail to judge whether the result can become a workable physical mold—not just a convincing preview.
Identify narrow necks, deep recesses, and features that could trap the casting.
Material choice affects release, surface finish, heat tolerance, and the type of mold you need.
Even an early sketch helps expose undercuts before you invest time in detailed geometry.
Check build volume and the minimum wall thickness you can reliably produce.
Useful for checking proportions, but not necessary for the planning walkthrough below.
These related guides help separate access questions from design and fabrication questions.
Compare what an online workflow needs from your browser, input files, and final output.
See which design tasks call for more direct control over mold geometry.
Follow the additional checks involved in preparing mold parts for printing.
Use a small soap-bar mold as a test case. It is simple enough to plan quickly but still requires decisions that a free preview may not answer.
Describe a rounded rectangular soap bar with a flat back and shallow lettering on its face. Record its dimensions, decide which face should remain visible, and choose a direction in which the master could be removed without tearing the mold.
Place the parting line around the bar’s widest perimeter. Allow room for a surrounding mold wall, add alignment features to keep the halves registered, and identify a pour opening and a possible air escape path. Treat these as design requirements, not guaranteed automatic tool outputs.
Check whether lettering creates fragile details, whether the cavity is reachable, and whether the assembled mold fits your fabrication method. If you need a printable file, verify that the tool’s current access terms include the required export before relying on the design.
Compare the usable result, not just the starting cost.
A free planning route may be enough to explore a parting line and describe a cavity. A route that produces editable geometry is more useful when you need to adjust wall thickness, clearances, keys, or openings. Neither outcome should be assumed from a tool’s name: inspect the controls and the current access terms.
For a physical mold, the decisive option is a workflow that gives you geometry you can inspect and fabricate using the equipment you have. Before proceeding, check whether the needed output is available at your access level, whether you can revise it, and whether its intended use fits your project.
Free access cannot replace checks on geometry, materials, and fabrication. These are the common points where an attractive concept stops being a usable mold.
An image or on-screen shape does not establish that you can obtain a watertight, correctly scaled model. Availability of file export can also depend on the tool’s current terms.
WorkaroundConfirm the required file format and access conditions before building your process around an output.
A cavity can match the master visually while trapping it or the casting after the material cures.
WorkaroundTrace the release direction through every recess; change the parting line or plan additional mold pieces where needed.
Weak sections may deform, while trapped air can leave gaps in fine features. Neither issue is solved simply by choosing a free tool.
WorkaroundCheck wall thickness against your material and process, then place fill and vent paths where air can escape.
Bring the master shape, casting material, and release plan from this walkthrough. Explore the industrial studio, then verify its current access, editing, and output options against what your project actually needs.
That depends on the specific tool and what you need it to deliver. Check the current access terms for the design controls, revisions, and exports your project requires; being able to start a design does not necessarily mean you can fabricate it.
Start with the shape and the intended casting process, then look for a way to inspect the parting line, wall thickness, and opening. Before committing time, verify whether you can obtain the type of output your fabrication method accepts.
Do not assume so. A print-ready mold needs suitable geometry, scale, wall thickness, and a usable file; it may also need changes for your printer and material.
A design can help you plan a master or mold housing, but the casting process needs its own checks. Consider release, sealing, pour and vent paths, and the compatibility of the materials that will touch uncured silicone.